Migrating Synology DS216Play to DS920+
This document describes the process of migrating my previous Synology DS216Play to a new DS920+ (Destination)
NOTE: According to Synology docs this process (HDD migration) is not compatible between these two models. But it seems to be successful in my case.
- Source Synology: DS216Play with 2x3TB disks with a SHR Volume configured (mirroring)
- Destination Synology: DS920+ previously initialized with 2x4TB disks with SHR Volume configured (empty data)
The migration process
The summary of the process is:
- Power-Off
sourceSynology and remove the disks - Insert Disk 1 from
sourceinto thedestinationSynology and power-on (connected in the network) - From a computer connected into the same network go to
http://find.synology.comand follow the instructions to do a migration - After a while it will restart and you will have the same content from your previous Synology in the new one (including passwords and users)
- Go to
Storage Managerand you will find some degraded state of your disk, so do a Repair and wait to finish - Power-Off the Synology (
destination) and add the second disk fromsource(your previous mirrored disk) intodestination - Power-On again, go to
Storage Managerand do again a Repair if you find somedegradedorunhealthystatus of yourVolumeorStorage Pool. It may start aparity checkfor your second disk, so go for lunch, have a coffee, play with the kids and enjoy your time... it will take hours to finish :-) - Once the second disk parity check is finished, Power-Off again the Synology (remember, we are working now only with
destination), add one of the new disks (the 4TB ones) and Power-On the Synology - Go again to
Storage Managerand check that your Volume isHealthy. Check also inStorage Manger > HDD/SSDthat you have all your disks inHealthystatus. You probably will see aNot initializestatus in the new disk, but you should see all the disks, the two already attached in the Volume and the new one added. - Go to
Storage Manager > Volume > {Your existing volume} > Action > Add Driveand select the new disk added (the 4TB disk in this case) and apply. The optionAdd Drivemight be greyed out if there is a check or repair process running, so you need to wait to finish. - The
Expandingprocess will start and a new parity check needs to be done... enjoy your time again :-) - Repeat the process from step 9 with the following disk (the last 4TB disk)...
IMPORTANT: If you have SHR configured in your Volume you need to work first with the smallest disks and do the expansion with the bigger ones (because Synology doesn't allow to expand SHR with smaller disks)
...WIP
Migrating Synology DS414 to DS920+ (Javi)
Both devices have the same number of bays. Synology states in their webpage that disk-based migration (just moving the disks from one device to the other) is not supported. However, Synology user communities dissagree, I've found information saying otherwise, and that is exactly the kind of migration that has worked for me.
Motivation
This migration was done in mid May 2021, because my old synology had almost 8 years and I felt I needed a faster machine. The whole migration process took less than half an hour.
Migration Steps
- Backup relevant data of the DS414. Backup the OS as well (something that I'm not explicitly did, but should have). Depending on the information you have, this may take several days, if you already had backup in place (you should!), then it just should be a matter of making sure the backups are up to date.
- Power off the Synology DS414.
- Put the DS920+ in place (access to a power source, and access to a switch where you can connect the device to network). Do not power the device yet.
- Extract the HDDs from the Synology DS414 one at a time, starting by the HDD labelled as 1 (in the DS414 that should be a point) and placing it in the corresponding bay 1 of the DS920+. Respecting the order of the disks is paramount. Repeat the process until the four disks have been placed in the new device in the same slot number they were connected in the old device.
- Plug the DS920+ to the network using an Ethernet cable. In my case, I had LACP configured in Bond1 in the DS414 using an static IP configuration, so what I did is I just plugged a new Ethernet cable in the new DS920+ so it would get a DCHP address. That will become important as when the migration process is finished, the assistant won't reconnect automatically to the new DS920+ (because has transitioned from DHCP to static IP configuration).
- Plug the DS920+ to the power outlet and power it on. Go back to your computer and go to find.synology.com. Make sure any ad blocker you have is disabled for this domain or the autodiscovery of the device may not work.
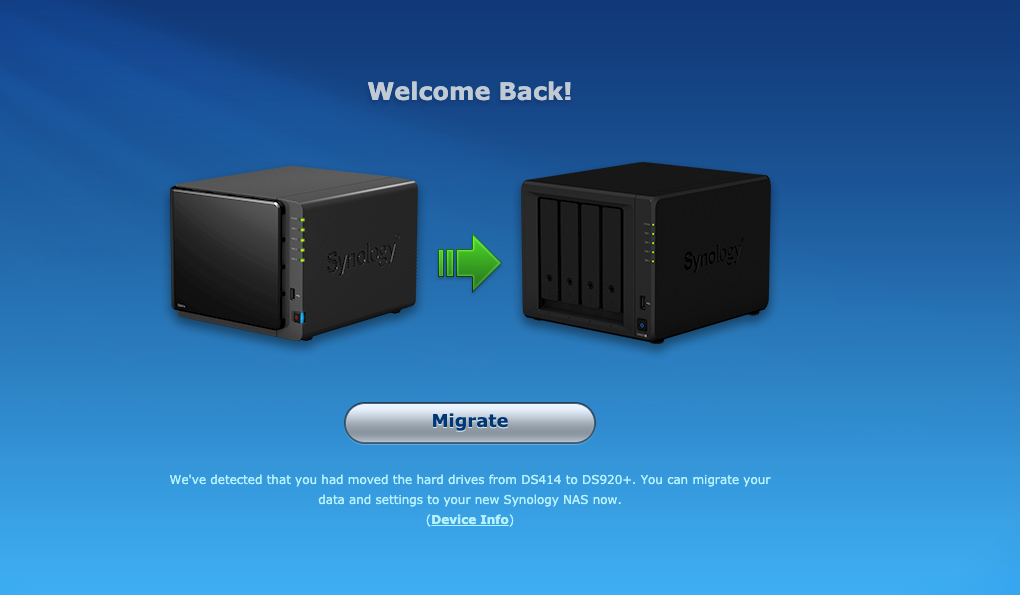
- Synology Assistant (what you're firing when you go to find.synology.com) should find your new Synology, and automatically tell you that you're coming from a DS414 and moving to a DS920+. Nice! That means that disk-based migration is indeed possible.
- Click on the Migrate you'll see, and give Synology some time to upgrade the binaries to the new DS920+ processor (around 8 min in my case). Once the process is done, the DS920+ will reboot.
- The assistant will tell you that once the rebooting process is done, it will reconnect to the new DS920+. That didn't happen in my case becase the previous discussion about DHCP vs Static IP. Open a new browser tab and navigate to your new Synology DSM. If you have Quickconnect, that will be the same name as you had before.
- You should be able to connect to the DSM with the same credentials you had before. Your settings and shares should be there.\
- In my case, packages installed needed repair, so I went to the Package center and clicked "Repair all".
- Once this was done, I powered off my Synology, replugged the Ethernet cables for Bond1 from the old DS414, reconnected the USB port for the UPS that I had in place as well, and powered it back on.
Minor issues
- My synology AVAHI name went from
roembdentoroembden.local. It was a minor inconvenience, but something I had to change in my syno script. - For some reason, the firewall stopped working. There's a notification now in the notification centre telling me to contact Synology support about it.
- The new Synology has only one USB3 rear port, so I cannot connect my two external USB3 drives for backup anymore. I plan to plug just one in the short term, but in the mid term I'll use my old DS414 and the new backup device, probably deployed in another location.
- The UPNP/DLNA indexing of my music has started to act weird. I had some FLAC music folders that I included into the music/ Audiostation folder recently that, although are there when I browse through SBM, are not showing up in my Hi-Fi Cast Android DLNA client. The new DS920+ seems to be reconstructing the index, so that maybe something that will get fixed soon.